New! Patiently™ by FSA & HSA Store®: Use pre-tax dollars for weight loss treatment. | Get started today
ONYX Professional Callus Miracle 3 Step Pedi Tool
-
In Stock
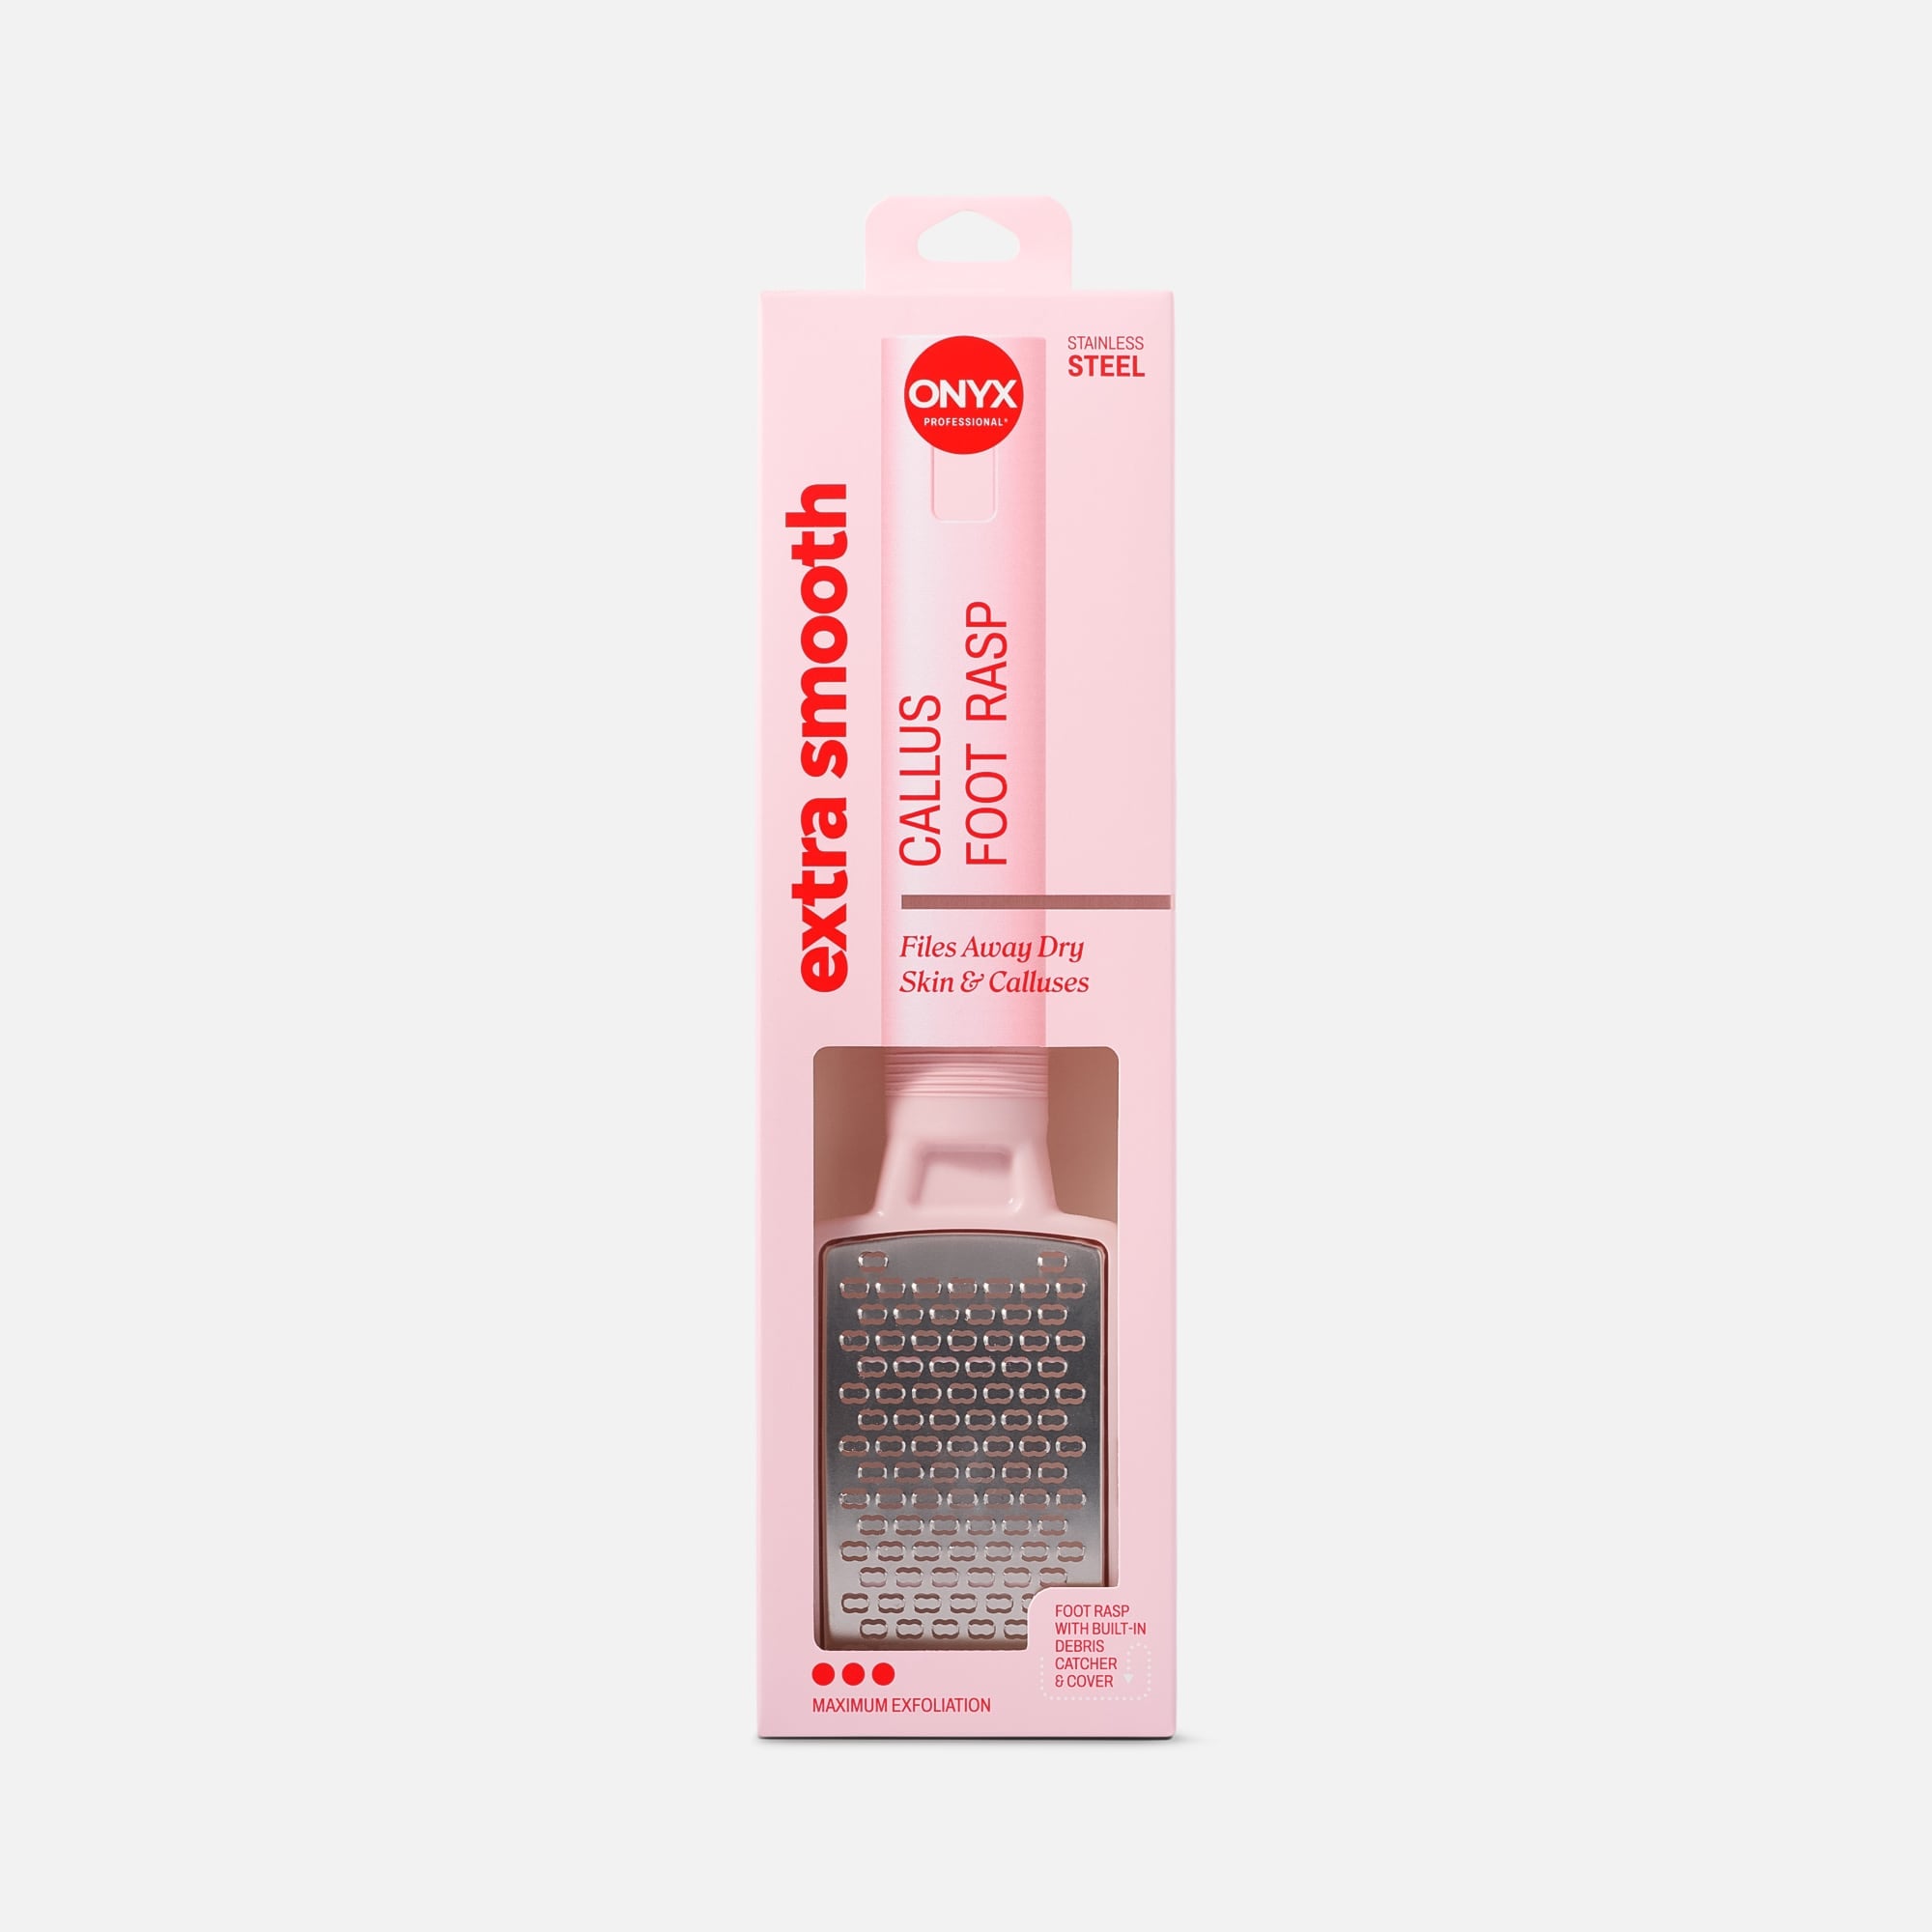
Say goodbye to stubborn calluses with the ONYX Professional® Callus Miracle 3 Step Pedi Tool. It features three interchangeable heads, giving you three tools in one to smooth, exfoliate, and shave away rough spots. Start with the Foot File to gently smooth dry patches, switch to the Foot Rasp for deeper exfoliation, and finish with the Callus Shaver when you're ready to remove it all. With a built-in blade storage drawer keeping replacements close at hand, this tool makes it easy to get soft, renewed, sandal-ready feet you’ll love showing off.
Take your health to the next level with FSA eligible Personal Care products.
Benefits:
- All-in-one tool with three interchangeable heads gives you three tools in one
- Foot File head smooths dry patches for softer feet
- Foot Rasp head tackles tougher, stubborn rough spots
- Callus Shaver removes thick, built-up calluses when you’re ready remove it all
- Built-in blade storage keeps replacements close at hand
- Salon quality tools for the perfect at home pedicure
Prep:
- Soak and clean feet in warm water to soften hard skin.
- Choose an attachment.
- Press the button on the handle to remove the current head.
- Push the new head in until it clicks.
Callus Razor:
Comes pre-loaded with a blade. Use only on thick calluses—not for thin or sensitive skin. Check blade for damage before use. Discard if damaged.
Use:
- Glide gently over callused skin, pulling the handle toward you to shave off thin layers.
Foot Rasp:
Buff calluses to exfoliate dry skin.
Foot File:
Smooth entire foot for soft skin.
How to clean:
- Rinse tools with warm water. Disinfect blades with alcohol.
- Store in a cool, dry place.
To replace blades:
- Place the silicone disc shiny-side down on a hard, flat surface. Holding the handle, lay the callus remover (blade cover side down) onto the disc.
- Press the head down firmly and push away from you to release the blade cover and blade from the handle. Carefully grip the blunt sides of the blade with your thumb and forefinger to lift and remove it.
- Place a new blade onto the callus shaver by aligning the hole in the blade with raised center post of the blade cover.
- Holding the CALLUS SHAVER by the handle, align the notch inside the HEAD with the RAISED post of the blade cover.
- Press down firmly onto the disc and pull toward you until you hear a click—this locks the blade and guard into place.
Tip: Blades are dual-sided for longer use. Store extra blades in the handle when not in use.
Warning: Keep out of reach of children. For external use only. Do not ingest. Use only as directed.
Excessive use or prolonged exposure may cause irritation to skin. Discontinue use if rash, redness, or itching occurs.
Consult a physician if irritation persists. Avoid contact with eyes.